
Tile installation can be a daunting task, but with the right knowledge and tips, you can achieve a seamless and professional-looking finish. Whether you are a DIY enthusiast or a seasoned professional, this ultimate guide will provide you with all the tips and tricks you need for successful tile installation. From preparation to grouting, we have got you covered!
1. Preparation is Key
1.1 Measure Twice, Cut Once
- Before you start installing tiles, make sure to measure the area accurately to avoid any mistakes.
- Use a chalk line to create a guideline for your tiles before you start laying them down.
1.2 Prepare the Surface
- Ensure that the surface is clean, flat, and free of any debris before you start the installation.
- Use a level to check the flatness of the surface and make any necessary adjustments.
2. Choosing the Right Adhesive
2.1 Selecting the Correct Adhesive
- Choose the appropriate adhesive based on the type of tiles you are installing and the surface you are working on.
- Follow the manufacturer's instructions for mixing and applying the adhesive.
2.2 Applying the Adhesive
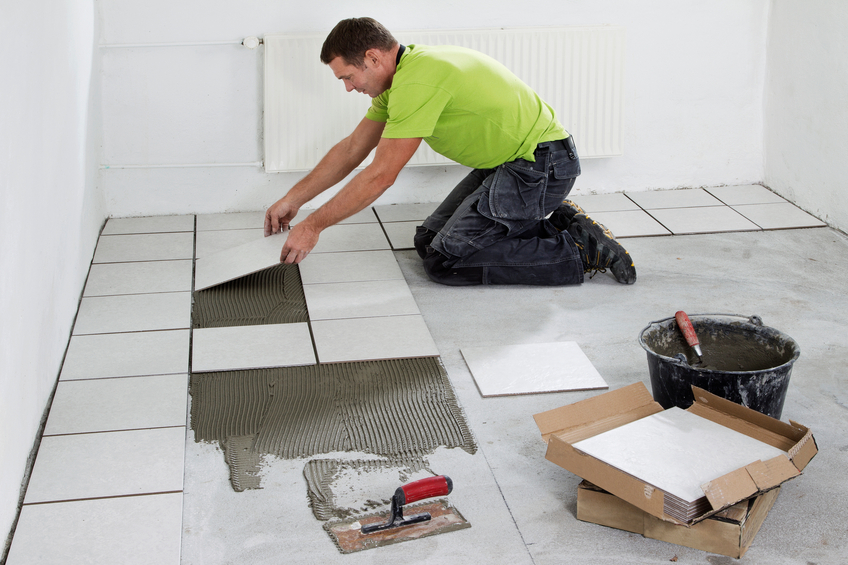
- Use a notched trowel to apply the adhesive evenly to the surface.
- Work in small sections to ensure that the adhesive does not dry before you can lay the tiles.
3. Laying the Tiles
3.1 Starting in the Center
- Start laying the tiles in the center of the room or the focal point to ensure a balanced layout.
- Use tile spacers to maintain consistent spacing between the tiles.
3.2 Cutting Tiles
- Use a tile cutter or a wet saw to make precise cuts for corners and edges.
- Measure twice and cut once to avoid any wastage of tiles.
4. Grouting the Tiles
4.1 Choosing the Grout
- Select the appropriate grout color that complements the tiles and enhances the overall look of the installation.
- Opt for a sanded grout for wider grout lines and unsanded grout for smaller grout lines.
4.2 Grouting Process
- Apply the grout using a rubber float, working it into the grout lines at a 45-degree angle.
- Wipe off excess grout with a damp sponge before it dries completely.
5. Finishing Touches
5.1 Sealing the Grout
- After the grout has dried, apply a grout sealer to protect it from stains and moisture.
- Follow the manufacturer's instructions for the application and drying time of the sealer.
5.2 Cleaning Up
- Remove any adhesive or grout residue from the tiles using a grout sponge and clean water.
- Let the installation cure for at least 24 hours before walking on the tiled surface.
With these tips and tricks, you are well-equipped to achieve a seamless tile installation that will enhance the beauty and functionality of your space. Remember to take your time, follow the instructions carefully, and enjoy the process of transforming your room with beautiful tiles!